
 Hotels
 Vacation rentals
 Brands and ad agencies
 Airlines
 Destinations
 Travel agencies
 Cruises
 Car rentals
 Financial institutions
 Activities
Put your property in front of millions of guests and enjoy tools designed to keep your calendar full and your stress low. No shared rooms, just serious growth. Get started today.

BLOG POST
Step-by-step guide: How to list your property on Vrbo
Start hosting with Vrbo today. Follow our guide to list your property, reach global travelers, and manage your vacation rental with confidence!
Listing your vacation rental shouldn't feel like a second job before the actual hosting begins. This guide outlines the practical steps to getting started, including creating and publishing your listing. Leverage it to go live quickly and easily, so you can start your hosting journey!
Vrbo host requirements: What you need to know
Before you hit the "list" button, let’s make sure we’re a good match. We have a few non-negotiables to ensure the best experience for both you and for guests.
- Whole homes only: Vrbo is dedicated to private stays. We don't list shared spaces or spare rooms; we only list whole properties where the guest has the entire place to themselves.
- Basic eligibility: You must be at least 18 years old and either own the property or have the legal right to rent it out.
- Local regulations: Rules regarding permits and short-term rentals vary significantly by city and state. You are responsible for checking local laws and permit requirements before you list your property on Vrbo.
- Professional standards: We expect our hosts to maintain high standards for cleanliness, safety, and communication. Reliability isn't just a goal — it’s the foundation of your success.
$1M
Host with peace of mind. All Vrbo listings include $1M in liability insurance from day one — at no cost to you.*
Listing your property: An overview and step-by-step guide
Ready to get started? The process is straightforward and designed to help you highlight what makes your space unique. Here’s a basic overview followed by a step-by-step breakdown.
- Visit the "list your property" page: This is your starting point.
- Tell us about your place: Share basic property details, then create your account.
- Enter full listing information: Add your photos, description, rates, and more.
- Review and publish: Double-check your information, then go live!
 Creating your account is easy. Just follow a few simple instructions to get started.
Step 1: Create your account
First, you’ll head to the Vrbo "list your property" page. From there, you can input basic property details like the number of bedrooms and bathrooms and property address. You'll then go on to create your account or login if you already have one.
 Let guests know what to expect.
Step 2: Describe your property
This is where you tell your property's story. You’ll enter an onboarding workflow to provide the details that help travelers decide to book.
- Amenities: Check the boxes for what you offer, from Wi-Fi to washing machines. You can add more specific details like pools or hot tubs once the listing is live.
- Safety devices: You must disclose whether you have functional smoke detectors and carbon monoxide detectors. Safety is a top priority for our guests.
- Rooms and spaces: Specify the property type (house, apartment, chalet, etc.) and detail the sleeping arrangements. If you have a sleeper sofa in the living room, add it as an "additional sleeping space."
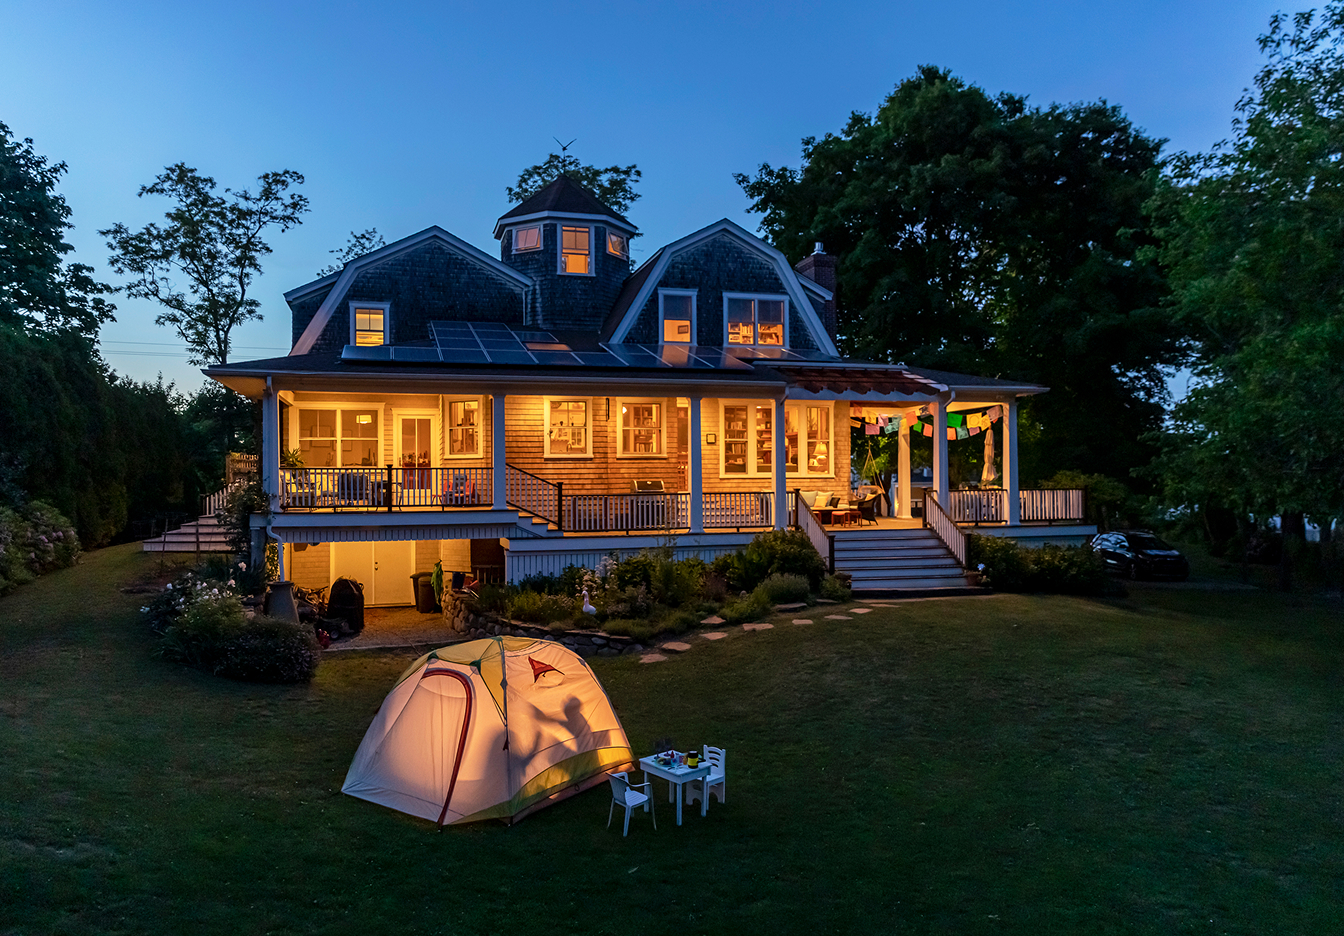
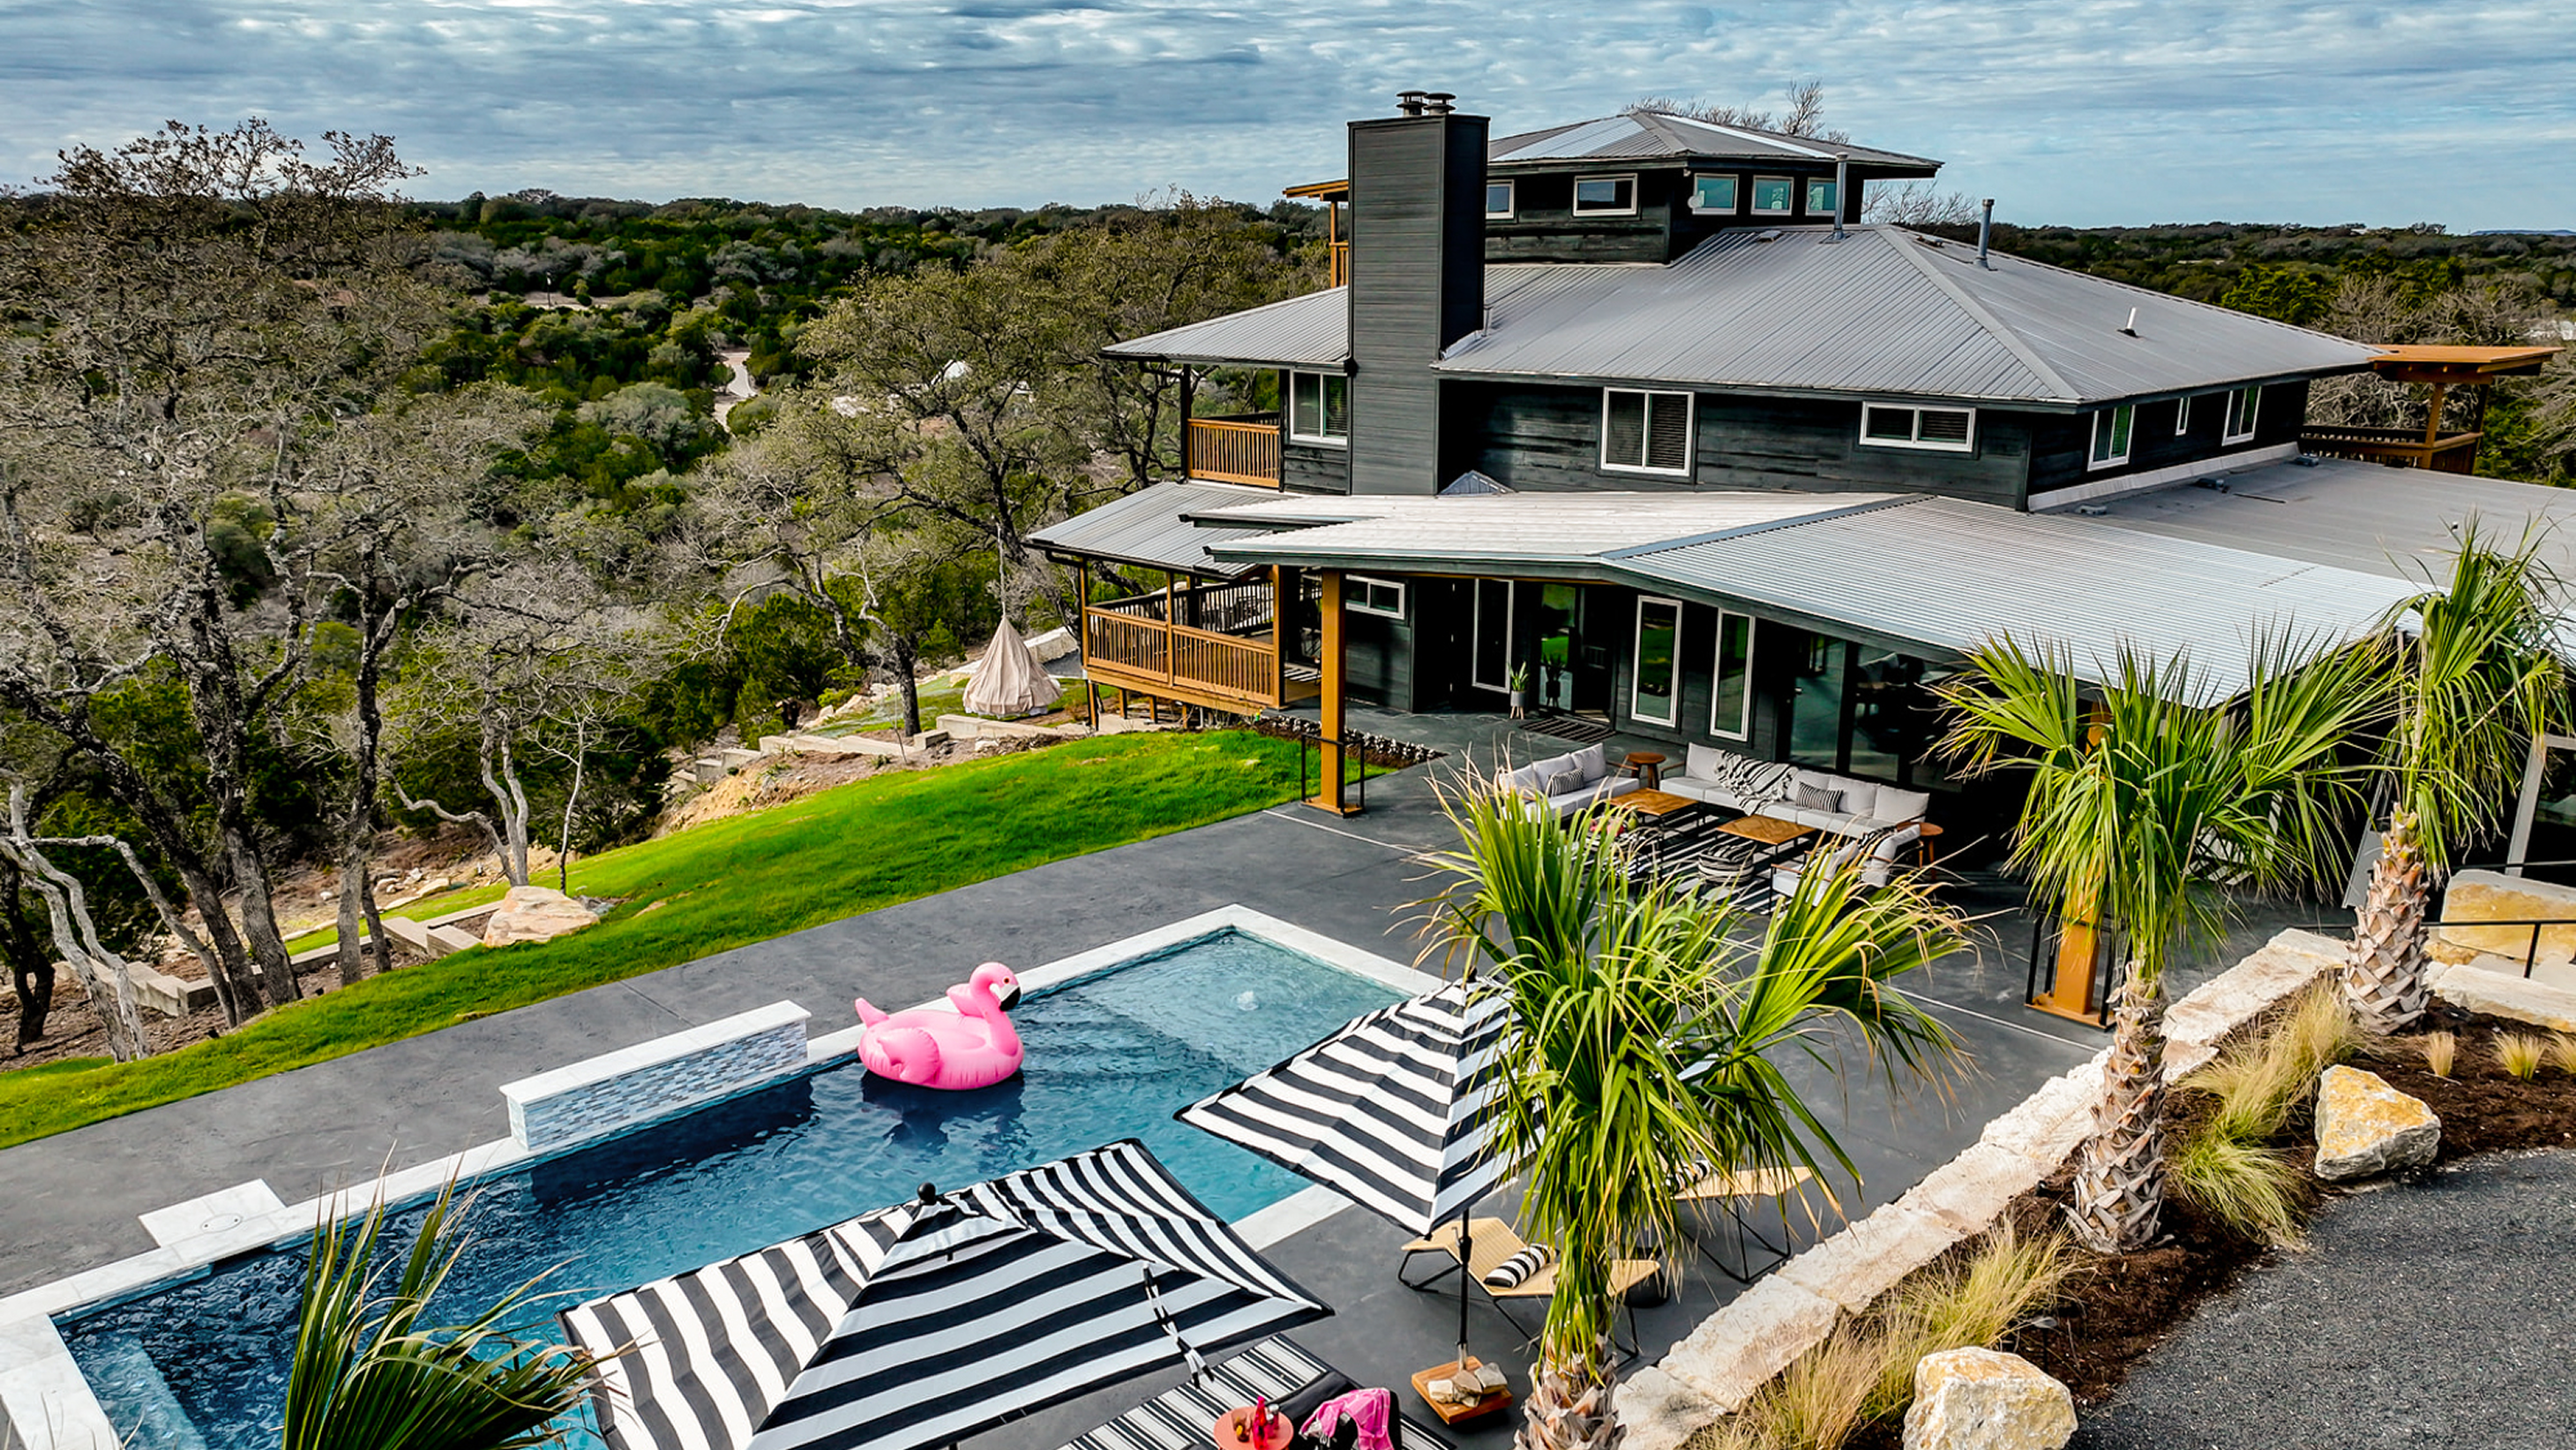
- Photos: Travelers book with their eyes first. Use well-lit, high-quality images. You’ll need at least six photos to get started, but more is better. The average property has about 25 photos.
- Headline and description: Your headline is your first impression. Keep it under 80 characters and try to be descriptive and specific, highlighting the best parts of your property.
- Good headline: 2-bedroom chalet in Aspen adjacent to ski slopes – with hot tub!
- Not-so-good headline: Condo in Chicago on high floor
Keep your description under 10,000 characters and focus on the experience of staying there.
Note: If you’re in the U.S., you can use our built-in AI tool to help draft a headline and a description that pops.
 Set your rates, fees, cancellation policies, and more.
Step 3: Set up the logistics
Once the fun part of describing your home is done, it’s time to handle the business side.
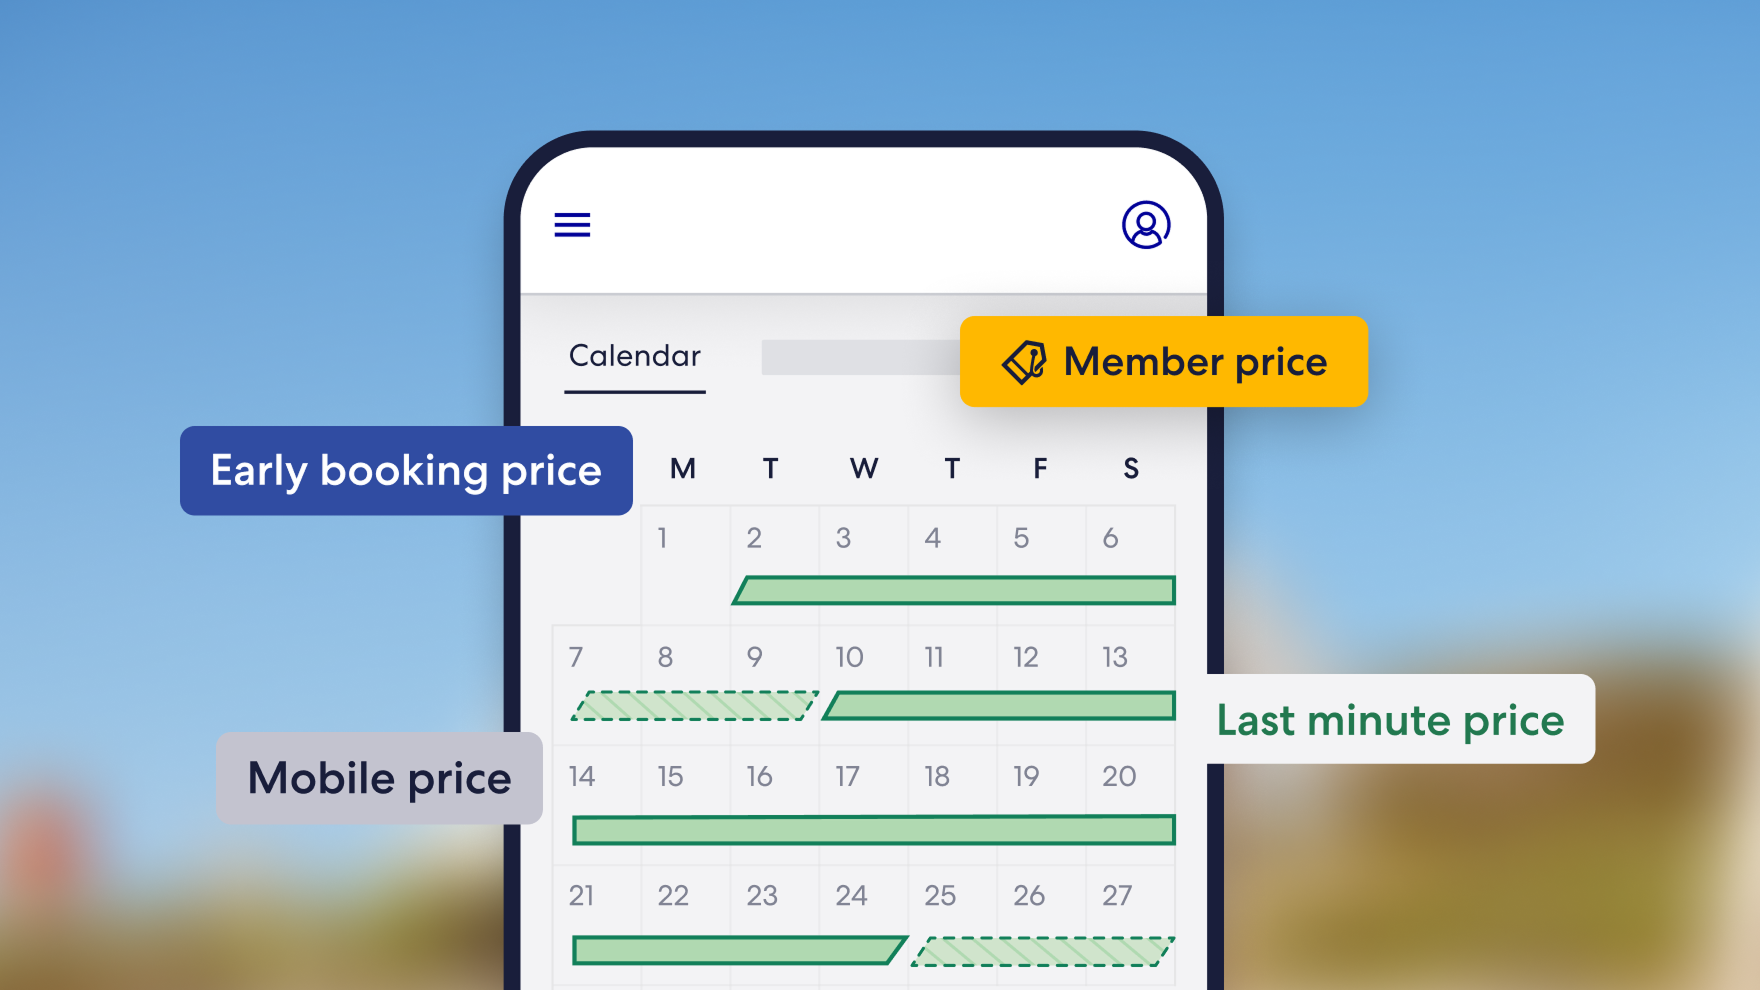
- Rates: Set your nightly price and choose your currency. In many regions, you can enable rate automation to keep your pricing competitive based on market data.
- Fees and house rules: Set your cleaning and pet fees here. You can also define your rules — whether pets are welcome or if parties are off the table.
- Taxes and local laws: Depending on your jurisdiction, you may need to enter a property registration number. You’ll also specify how you collect and remit lodging taxes.
 Sync your calendars to prevent double bookings and avoidable cancellations.
Step 4: Optimize your Vrbo listing for success
Listing your property on Vrbo is the first step; making it a top performer is the next.
Keep your calendar updated. Nothing frustrates a traveler more than finding the perfect home only to realize the dates aren't actually available. If you list on both Vrbo and Airbnb, use our calendar sync tool to prevent double bookings automatically.
You can also give your property a head start with a new listing discount. That "new" badge builds traveler trust, helping you land the first few bookings and reviews that keep your momentum moving forward.
Connectivity software integration: List properties at scale
If you manage a large portfolio, you don't have to create your listings manually. Connecting your property management software to Vrbo allows you to launch your listings in bulk.
Ready to go live on Vrbo with software integration? Complete our short property manager intake form and our business development team will be in touch to help you every step of the way — from setup to launch.
Start your journey
List your property on Vrbo
Frequently asked questions
Once you finish onboarding, most listings go live within approximately 24 hours. If you are a professional property manager using integrated software, the timing may vary slightly.
Need help getting started?
We're here for you every step of the way. Head to our help center for full support.
Keep up to date
Sign up to let us know you'd like to be notified of future blog content.
Vrbo
Vrbo is the world's leading vacation rental platform, connecting property owners and managers with millions of quality travelers. With 30+ years of expertise and a network spanning Vrbo, Expedia, and 70,000+ business partners worldwide, we help hosts maximize earnings through powerful technology. Our platform is designed to deliver results, with 24/7 support, pricing insights, and management tools to grow your business.
Was this page helpful?
Tell us how we did so we can improve our site.
Recommended for you
*$1M Liability Insurance program provides owners and property managers with liability protection for all stays processed online through the Vrbo checkout at no additional cost to you. This means that if you have a liability policy for your vacation rental, then consider this to be coverage additional to what you have. If you don’t have your own liability policy for your vacation rental, a 25% deductible will apply. See full details.